With an abundance of information out there today for beginning photographers, it can become pretty overwhelming, I get it. I was once there myself, searching the internet and every forum I could find to learn everything about every possible thing photography related. I read for hours at night after the kids went to bed, sat with my camera by my side and took it everywhere with me just so I could keep trying. 8 years later and now a seasoned pro, here are the top 10 things I feel are the most important to focus on as you begin your journey into being a photographer.
1. Prime Lenses
let’s start with some basic equipment. I own ONE zoom lens and it’s a 16-28mm for real estate photography. I am a huge prime lens fan (or snob, your choice!) Not only do I swear the images are crisper and cleaner, it forces you to really think about where you are standing in relation to your subject. Without being able to just zoom that lens back and forth, you are forced to make a conscious decision on where you need to be to get the best composition for the most dramatic impact.
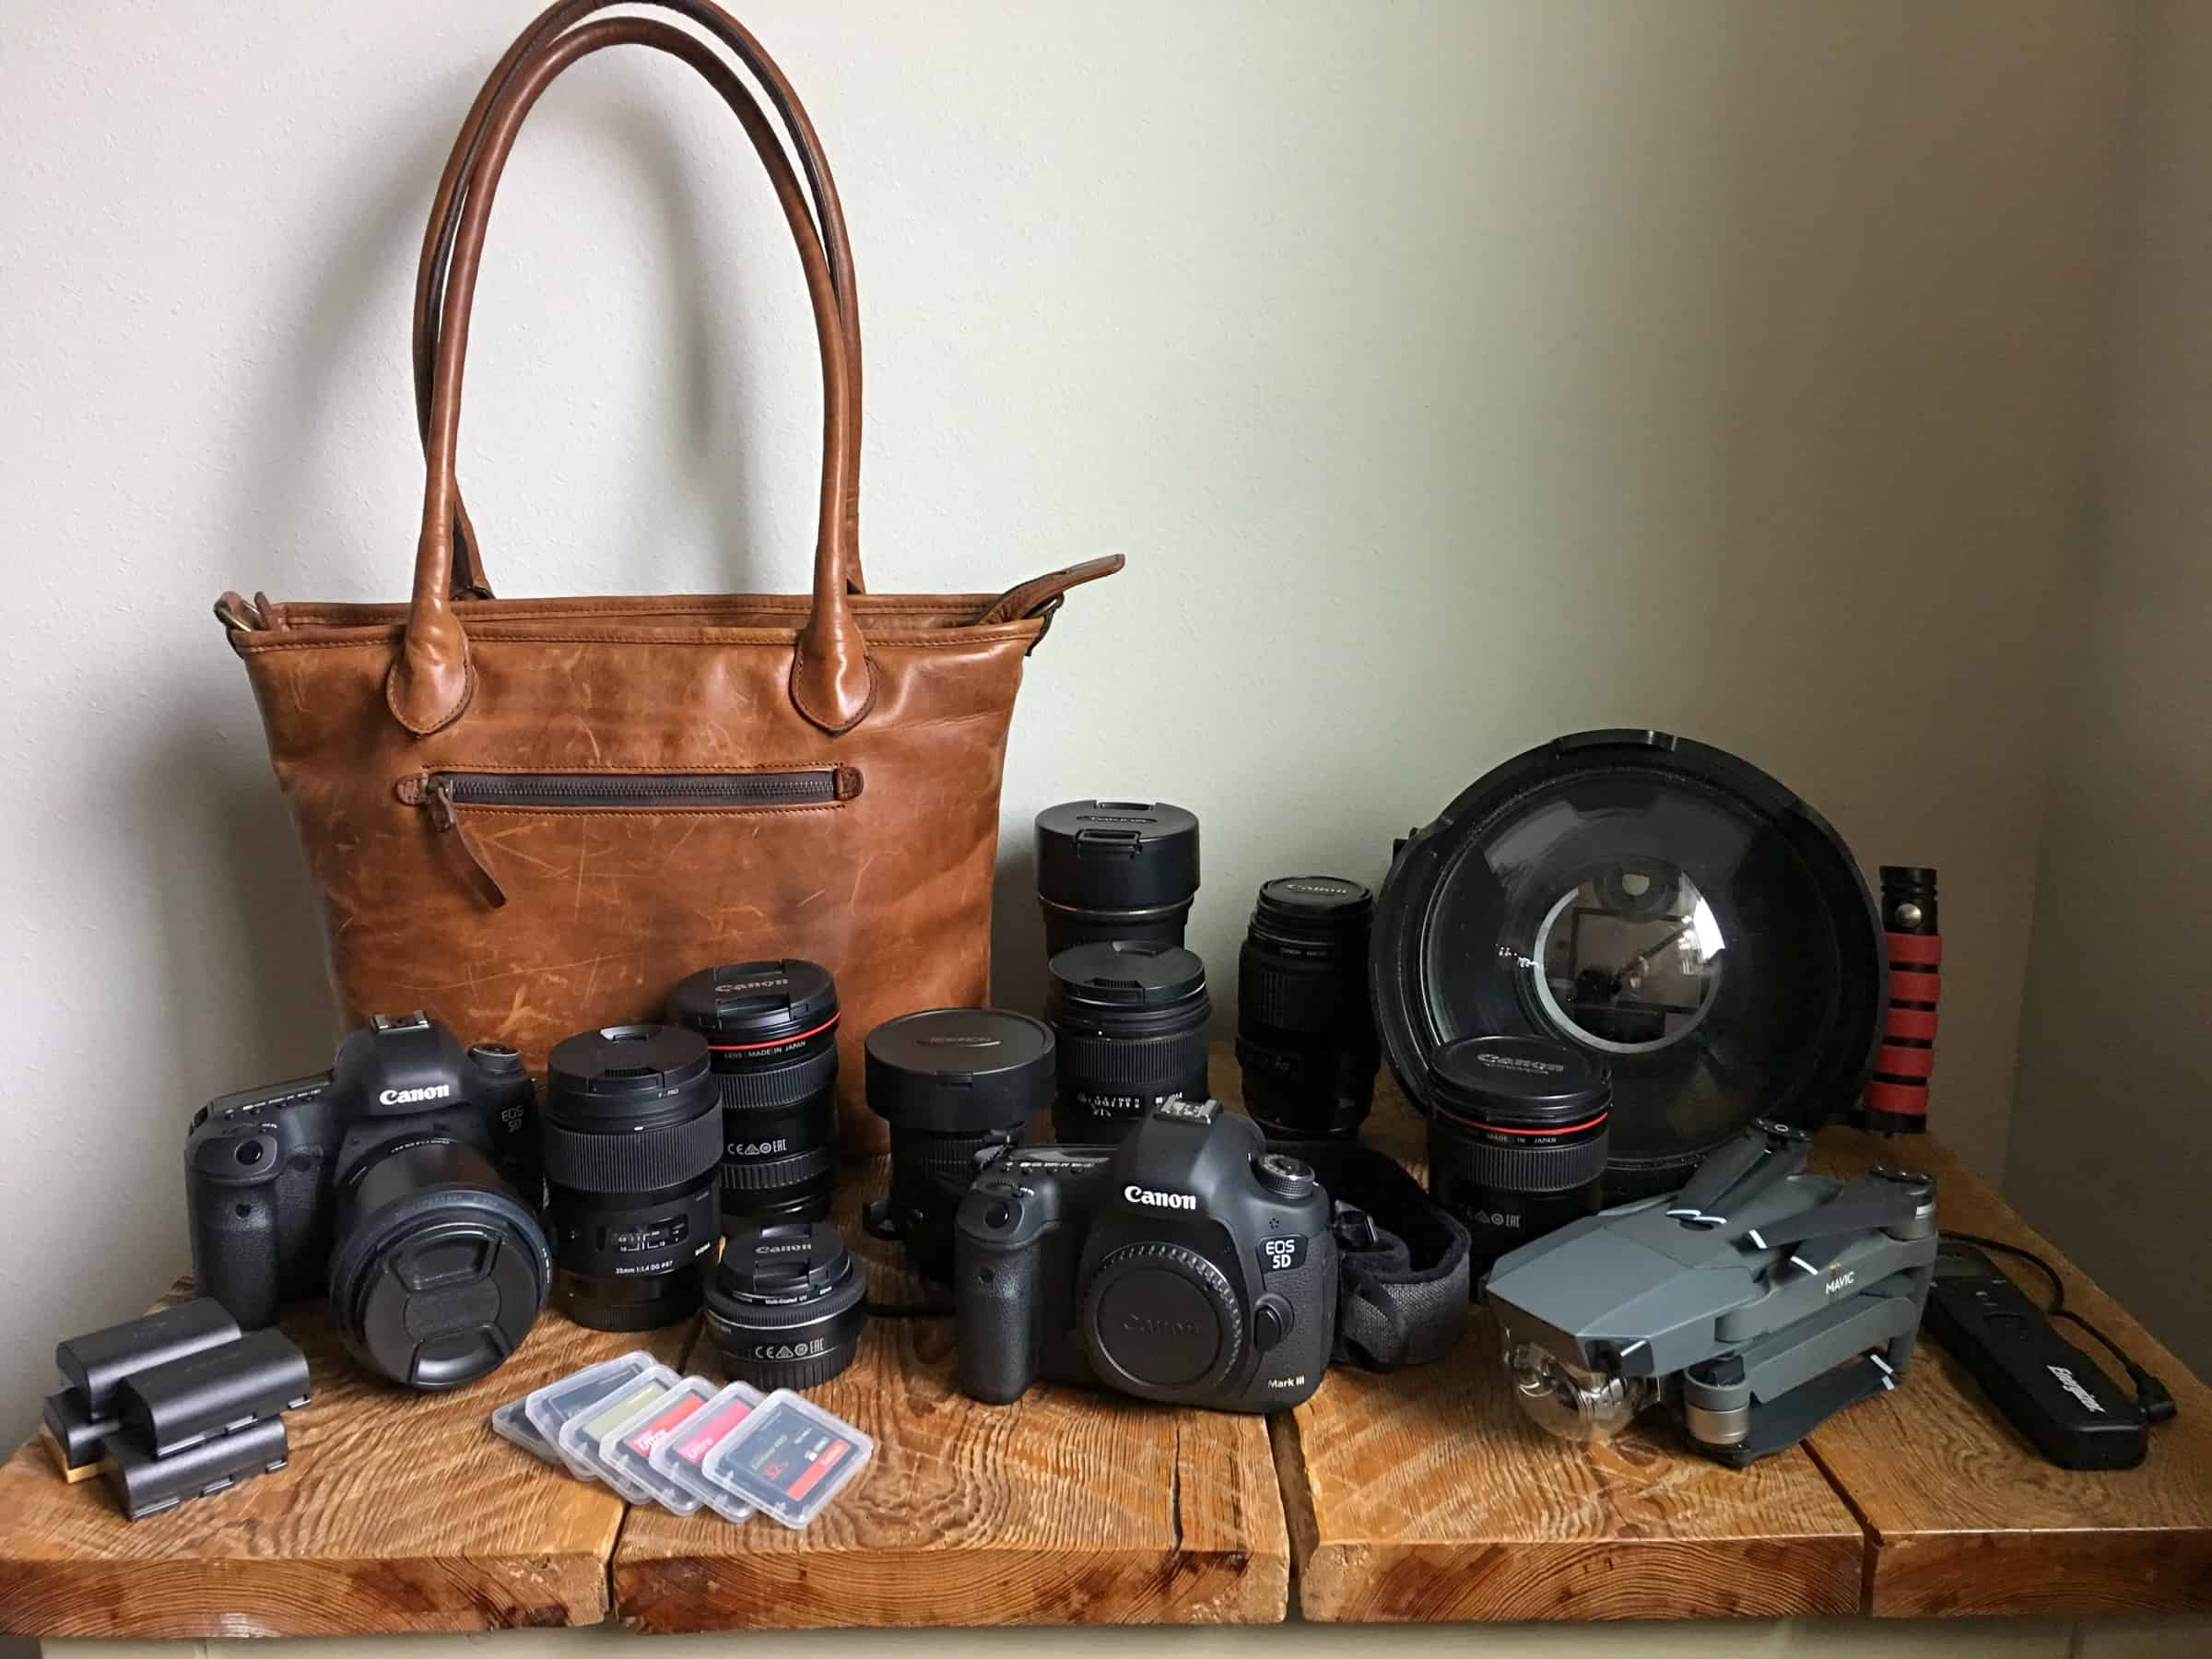
Interested in What’s in My Camera Bag?
2. Speaking of composition
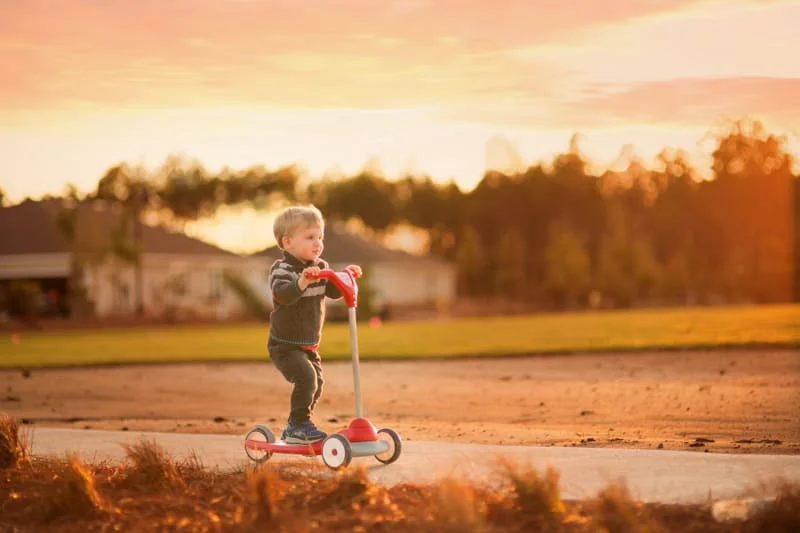
I am usually a total rule breaker. From everyday life (I don’t sort my laundry and I don’t prewash my dishes before loading the dishwasher, sorry Nana) to my photography. But the “rule of thirds” is one that I will follow frequently, especially with my personal projects. It’s simply just more visually appealing. When you look through your view finder, your camera will show you a grid to help you determine where your subject is in relation to the frame.
3. Don’t be afraid to get close
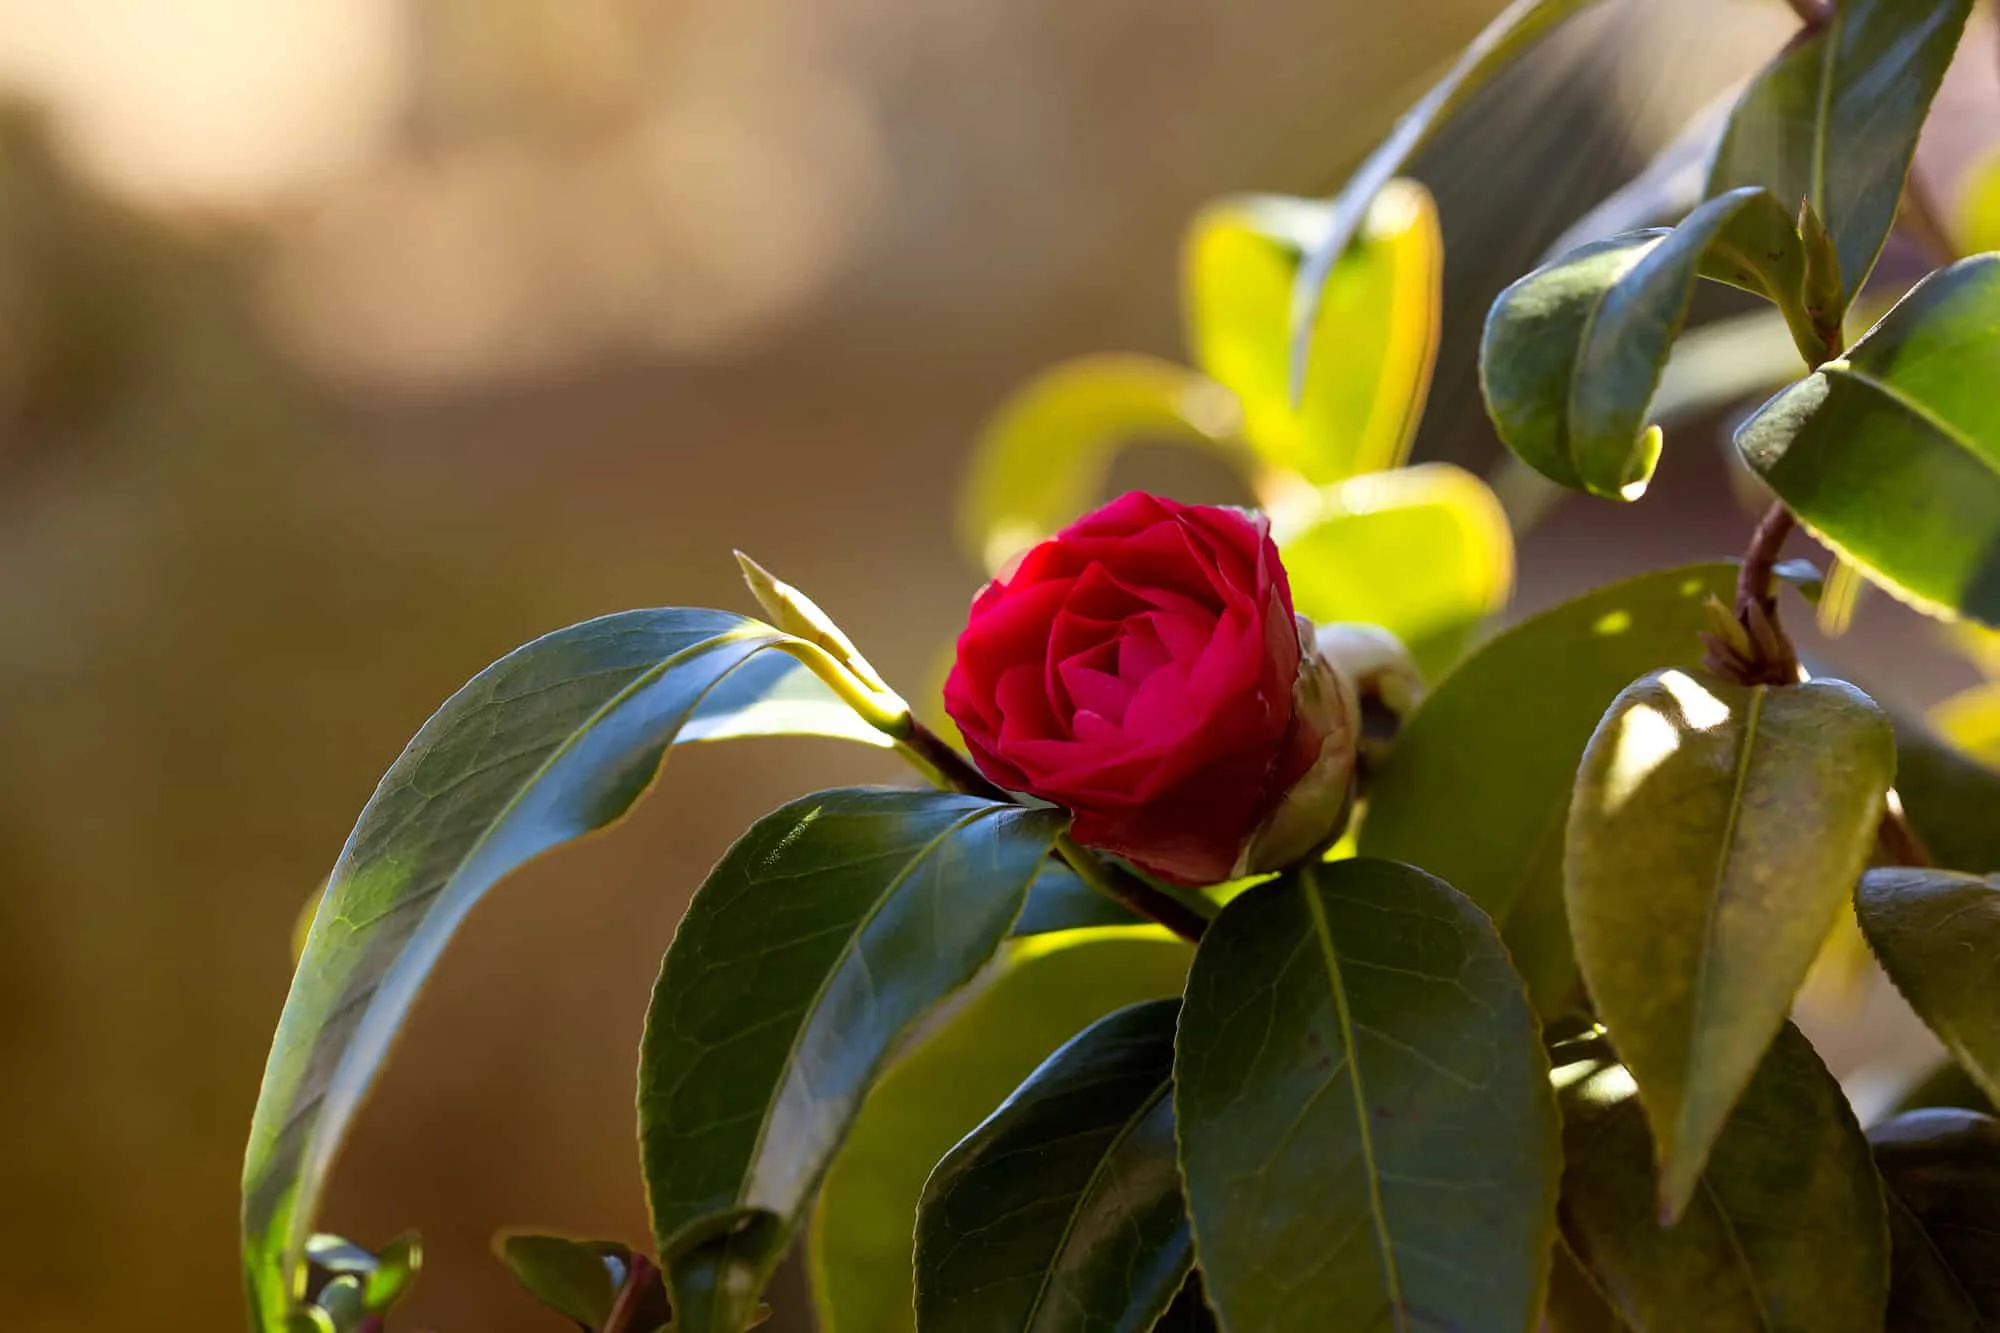
and then get even closer. Depending on what you are photographing and what you are trying to showcase, you may want to completely fill your frame with your subject. This works particularly well for certain types of outdoor photography, food photography and even portraits.
4. Negative Space
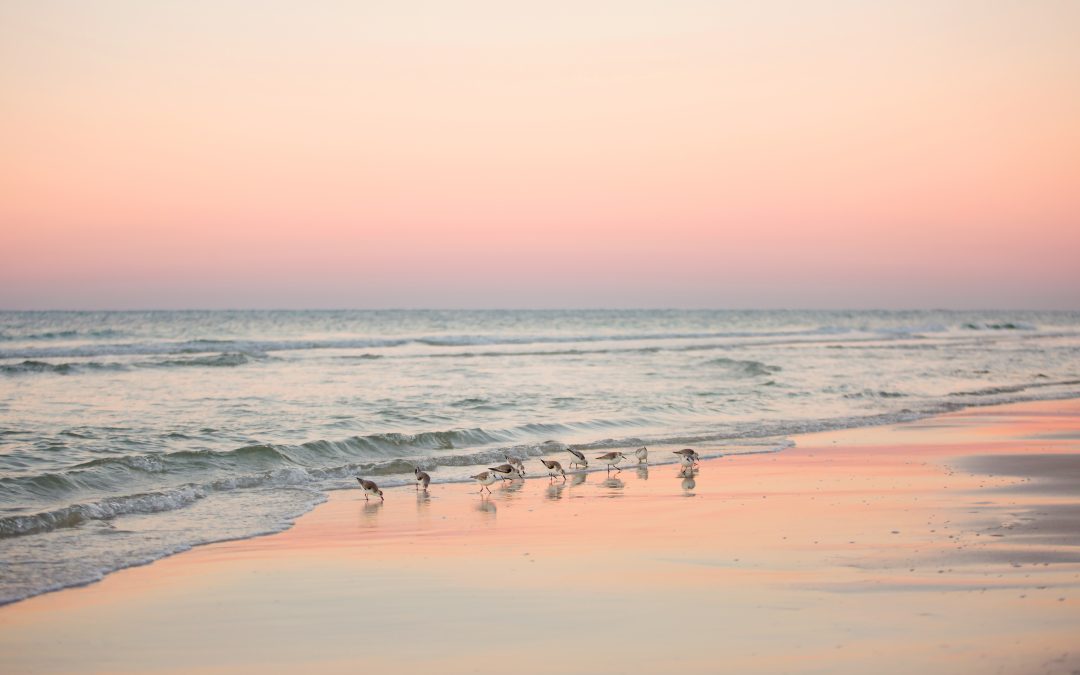
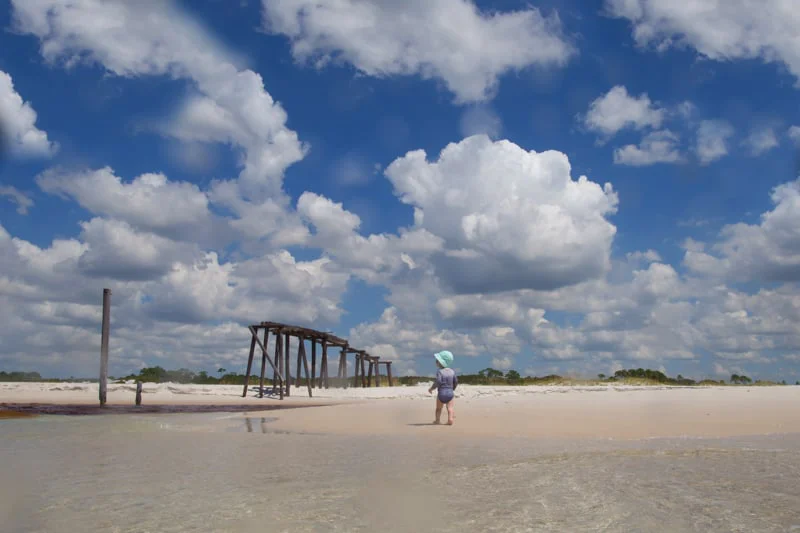
However, I do love negative space, too! Again, this will depend greatly on what your subject is and the feel you are looking to create. Negative space will create a very dramatic effect with minimal distraction in your image, forcing the viewer to see exactly what you intended for them to see.
5. Try a Change in Perspective
And when filling the frame and using all the negative space just isn’t working for you, try something new! A change in perspective can lead to great pieces of art and views of everyday things and situations that not many people have ever considered. When I feel stumped, I often take my macro lens outside and just sit on the ground. I don’t move, I just sit and look carefully, at every single thing around me. The concrete, the grass, the mulch, the trees, the bushes, the leaves, the thorns, the ants, the spiders (eek) the dew drops left over from the evening before. The longer you sit in one spot, the more you notice. And then, by changing your perspective, you can then fill your frame or use some negative space.
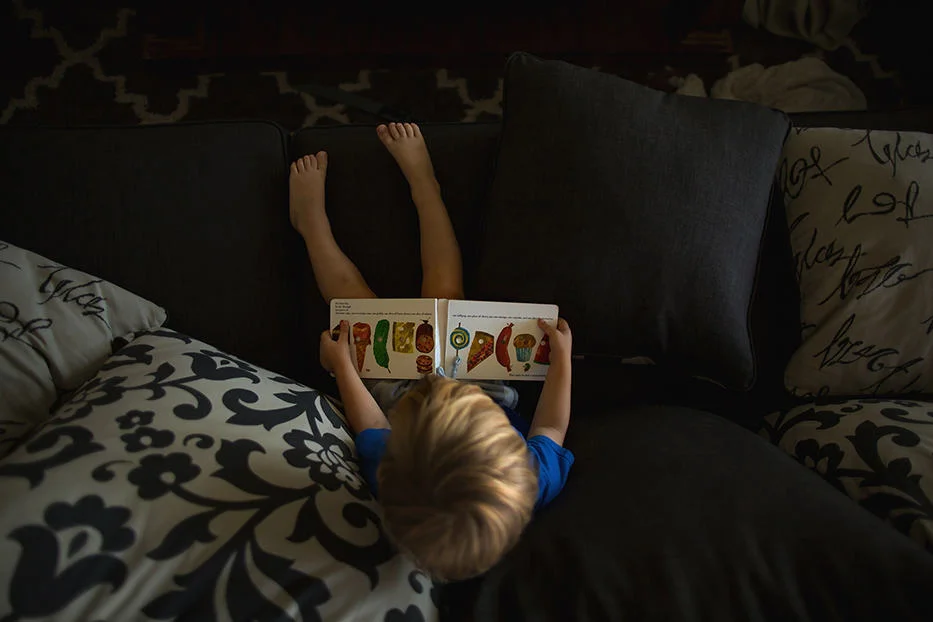
6. Avoid your camera’s built in flash.
I know there are times and situations where we just need some additional light. If you haven’t mastered shooting in manual mode yet, it may seem like your only option is the pop-up flash. But I am here to tell you- whatever you do, avoid using the built in flash on your camera body! This flash is not flattering to your subject and creates some very harsh shadows and lighting on your subject. I, personally, don’t use flash often anyway, but if you need additional light, the best option would be to purchase a shoe-mount flash that you can place on your camera, or set up right beside you to create your own lighting.
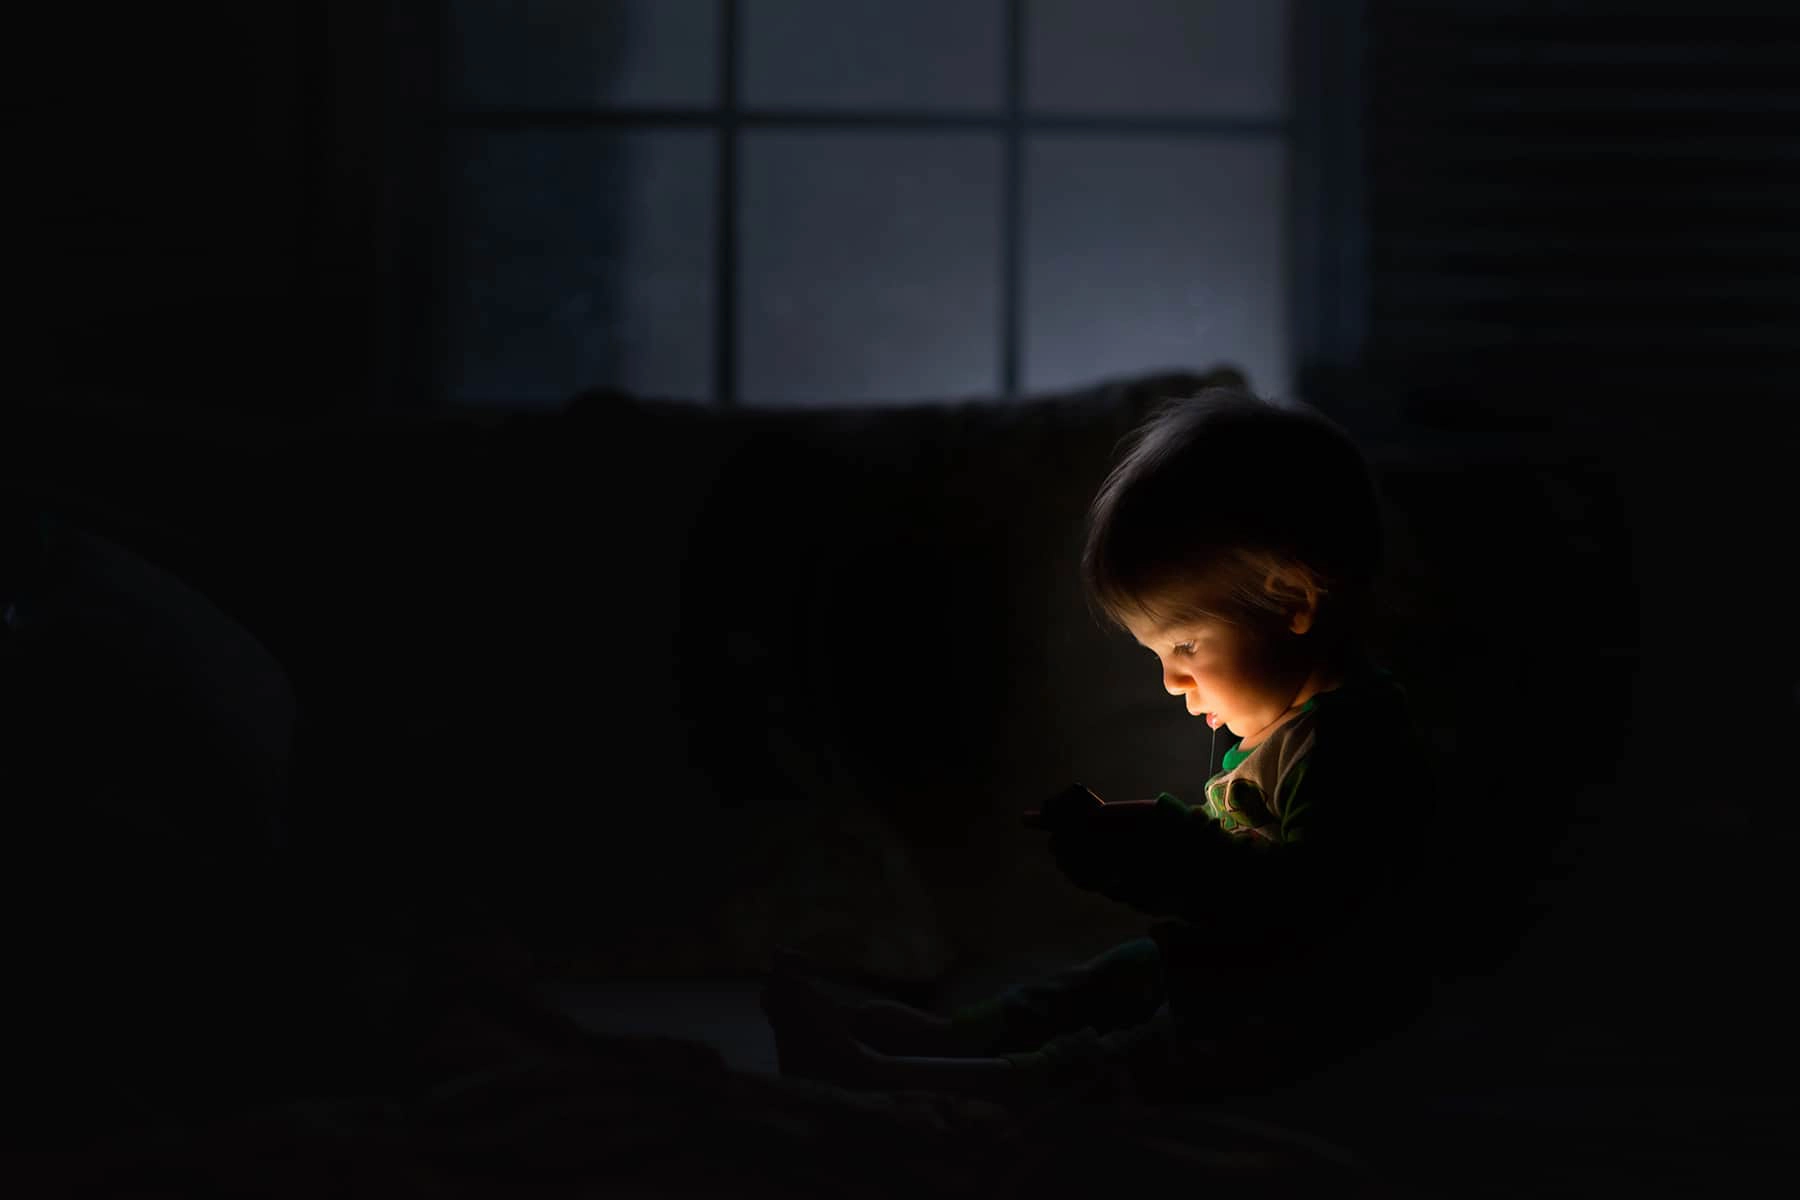
7. Learn to use your camera’s histogram
Your camera has some pretty cool tricks to help you nail that shot. One of them being the histogram. When you are outside shooting in full sunlight, or inside shooting in darker conditions, it’s hard to see that tiny little LCD screen to view for perfect exposure. Spending just a little bit of time learning to understand this valuable tool can be the difference between usable images or ones that are over/under-exposed.
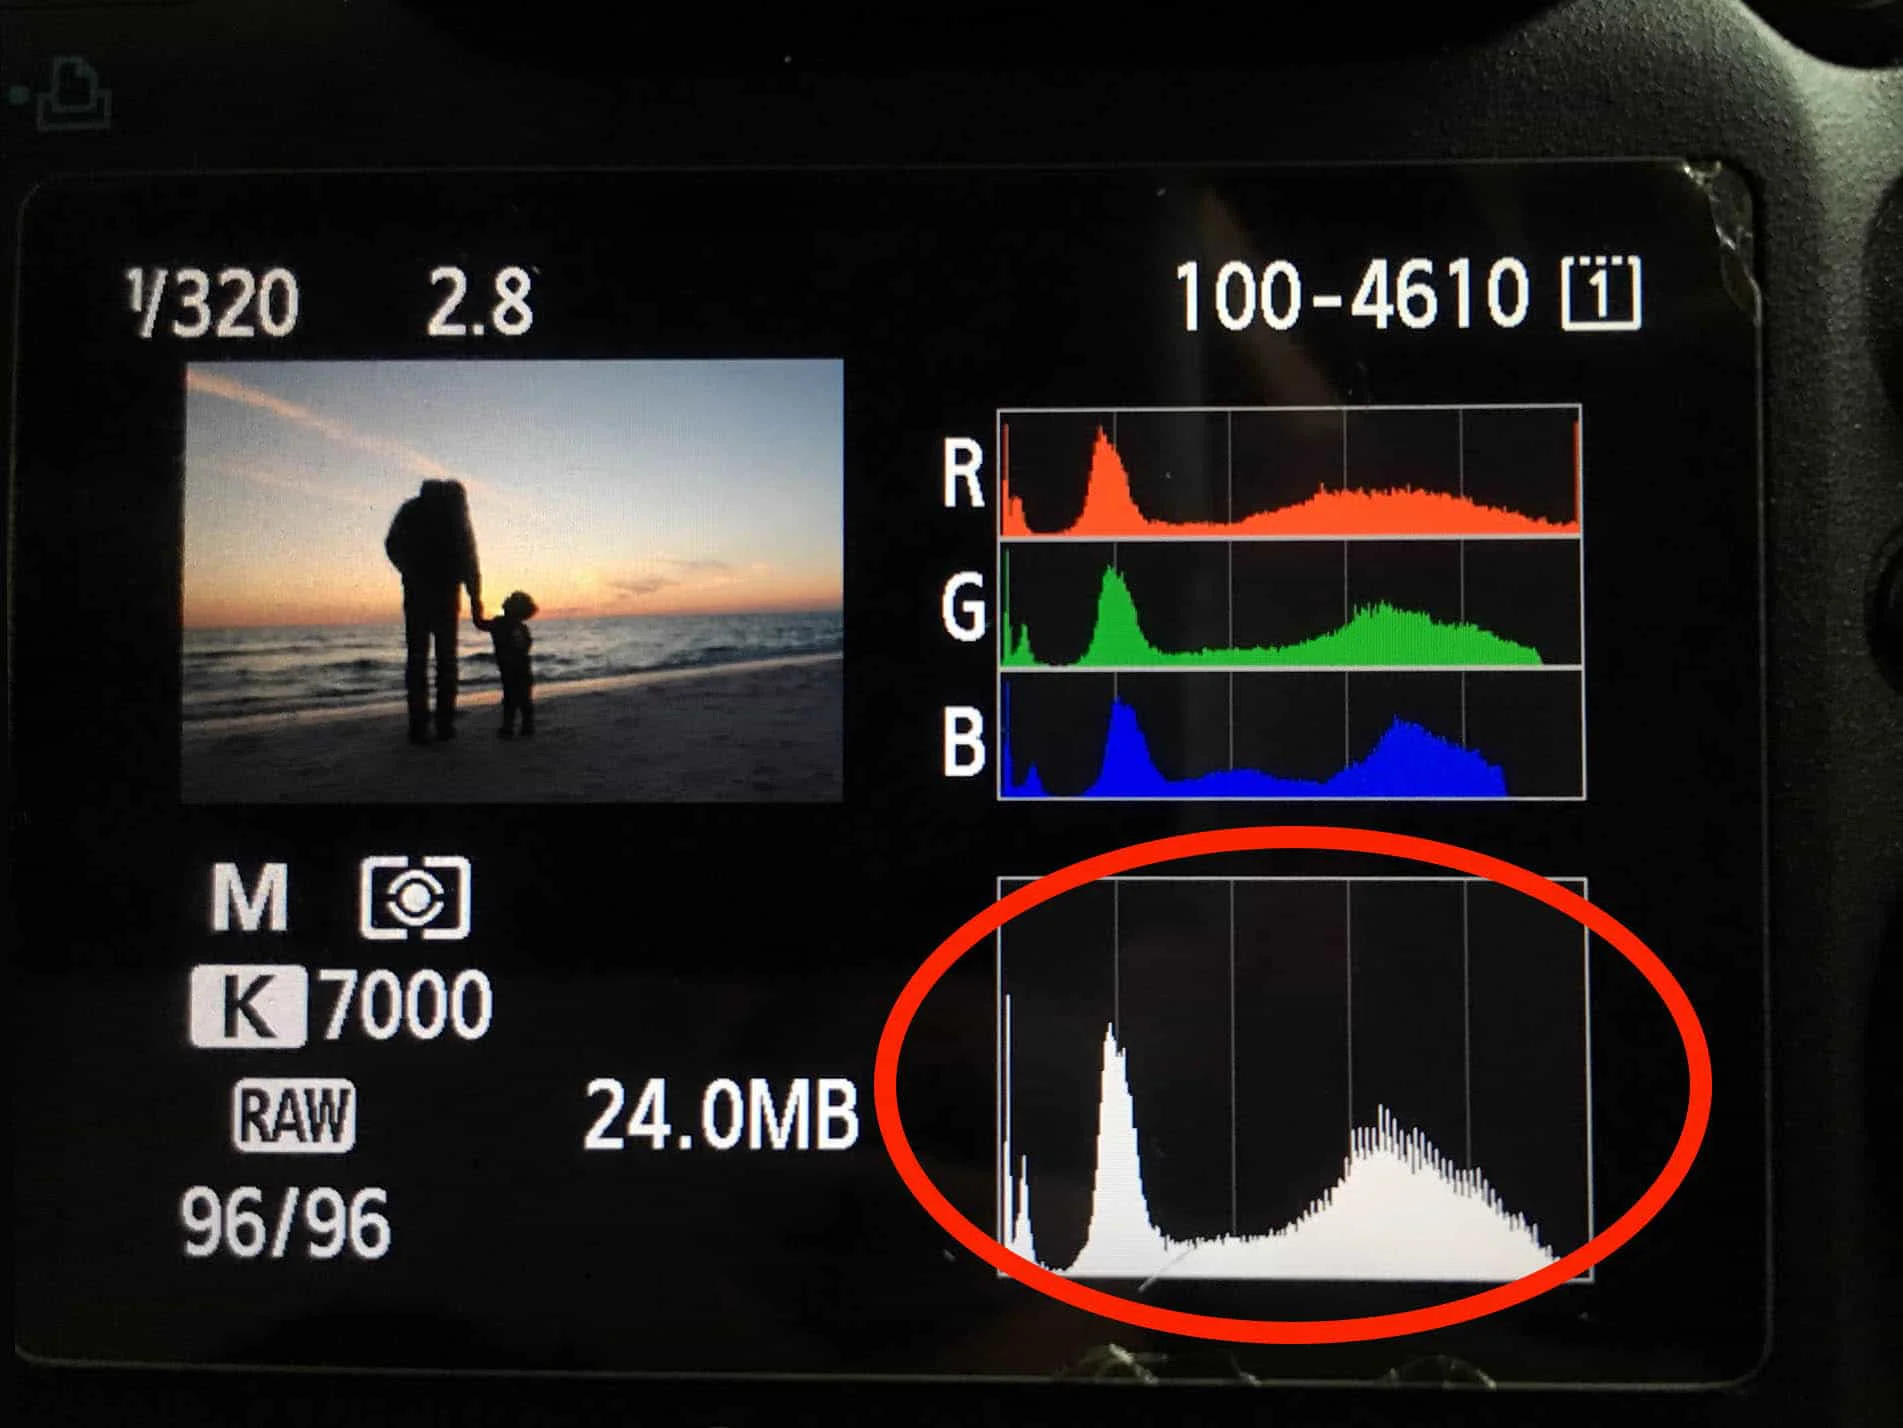
8. Creating that pretty “blur”
There is nothing I love more than a nicely framed image with a tack sharp subject with some beautiful depth of field. Add some twinkly lights in the background and it’s pure magic! That “blurred out background” is achieved when you create that depth of field between your subject and it’s background AND opening your aperture somewhere between 1.2 (depending on how fast your lens is) to about 4.5. Each lens will have a “sweet spot” and my 35mm’s is 2.8. I know that at 2.8, almost anything I photograph will be tack sharp and I will be able to create that dramatic blur/ bokeh in my background. I also know that if I open up to anything larger than 2.8, say 2.0 or even 1.4, I am going to have to be VERY careful to nail my focus and minimize motion blur from my subject or myself. You will have to play around with your exact set up and find what works best for you, but trust me, it’s worth it!
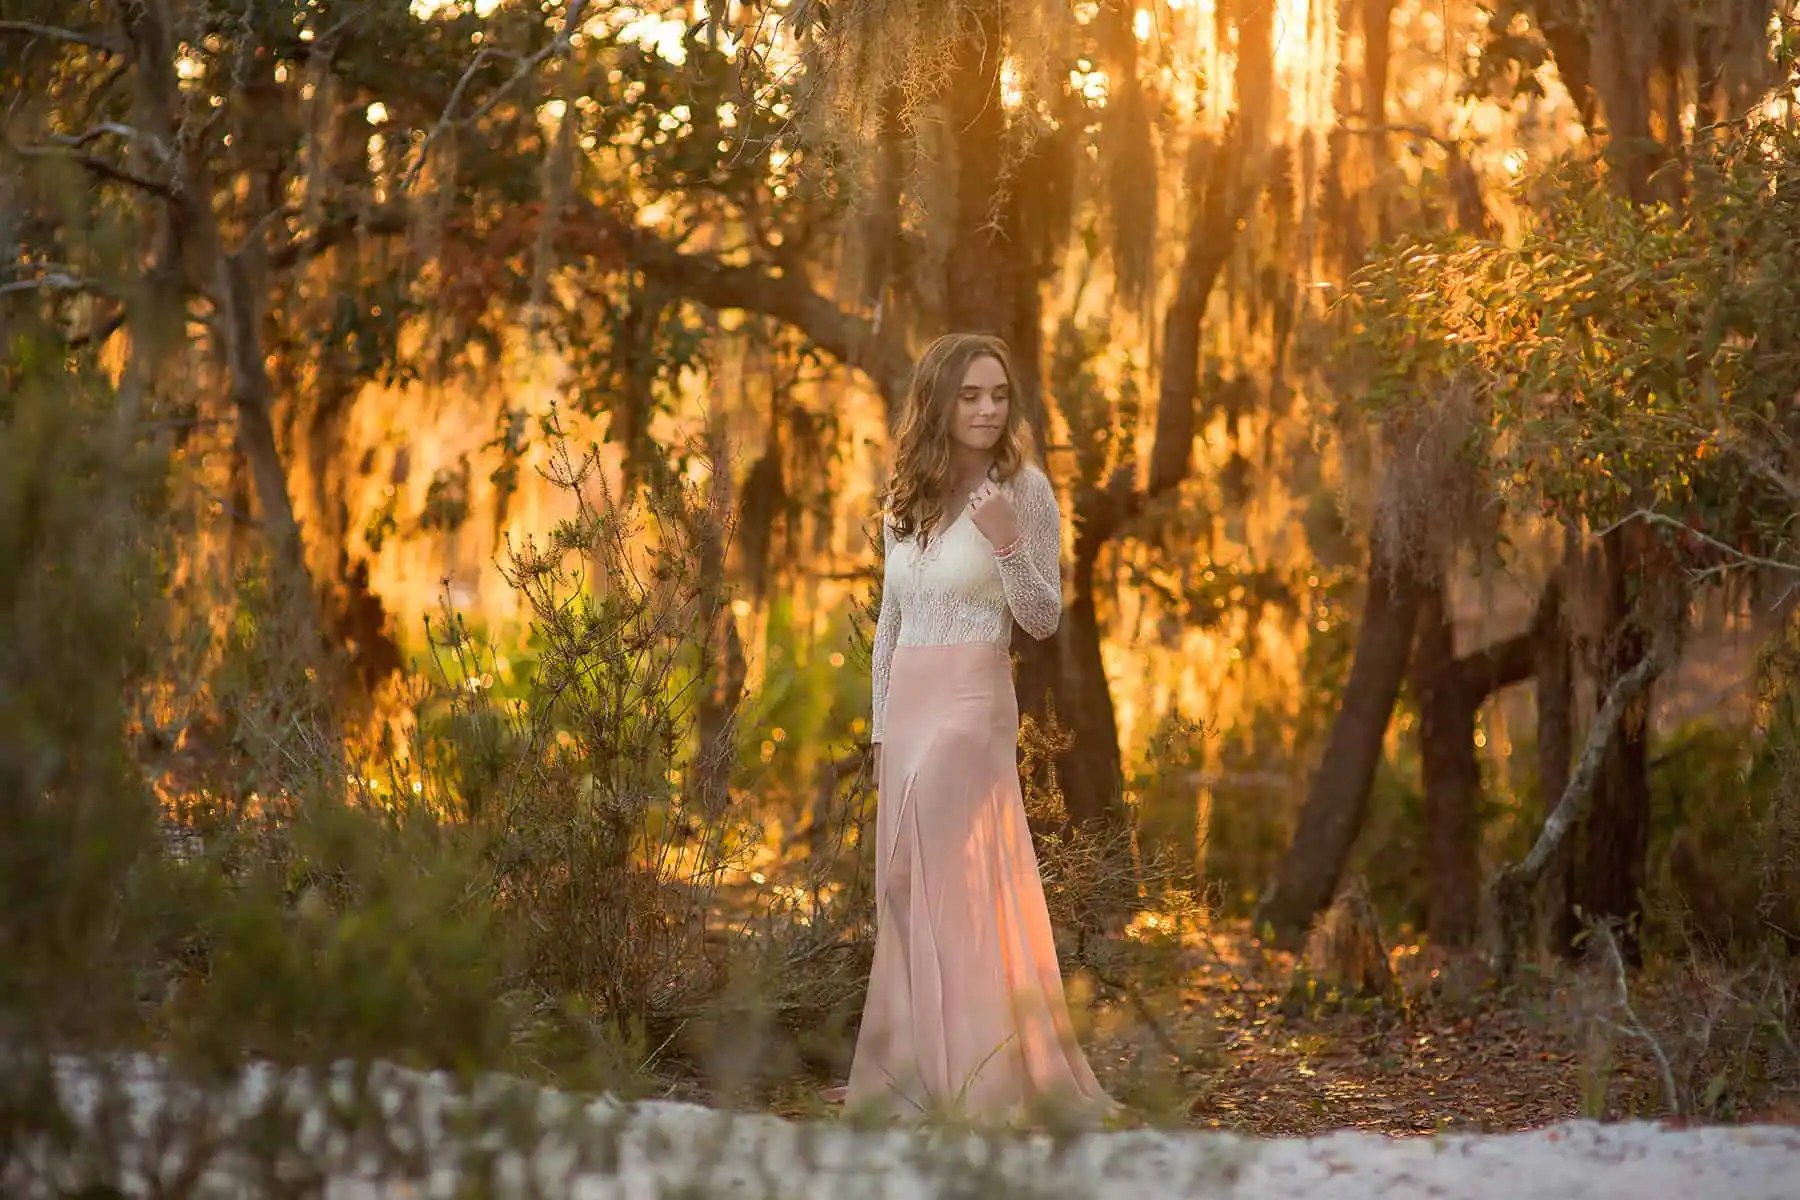
9. The Golden Hour
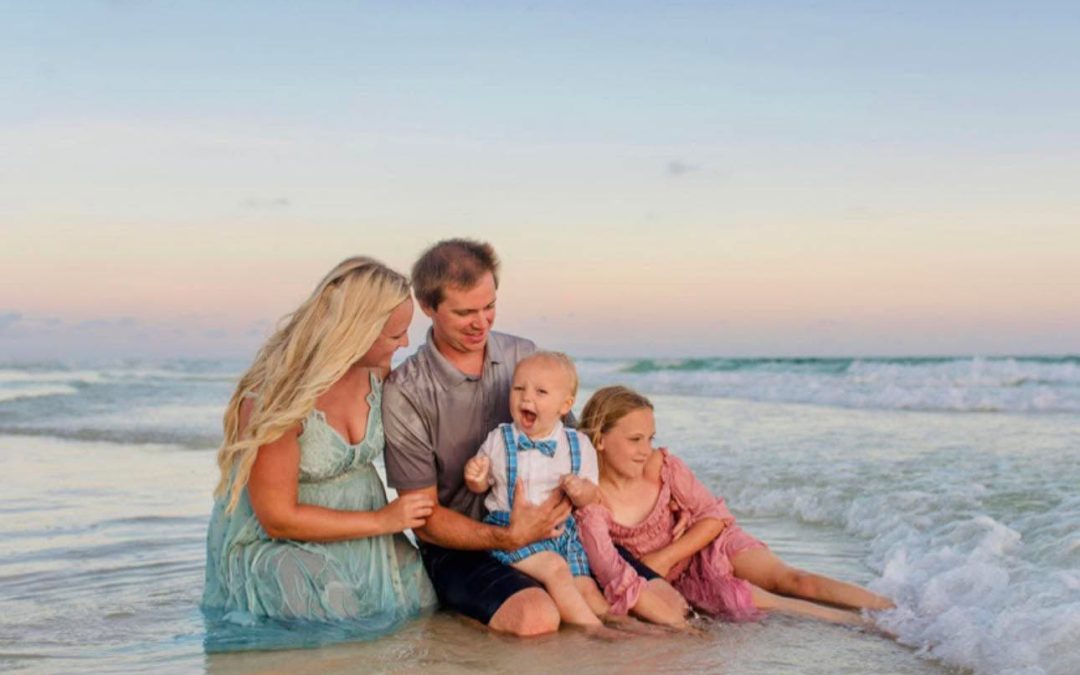
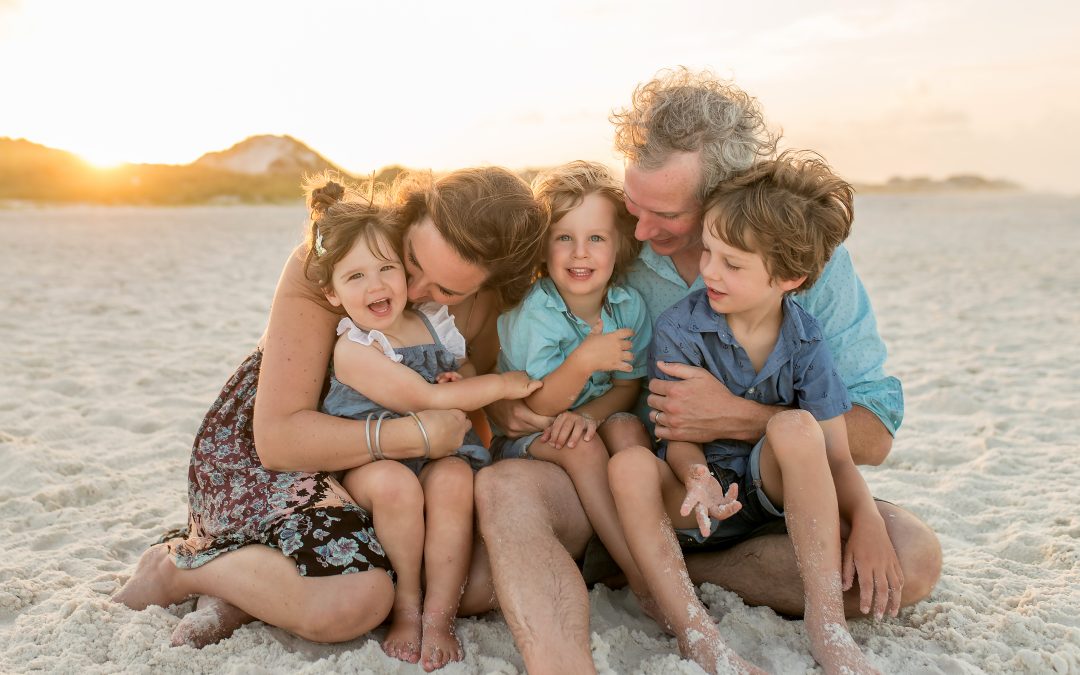
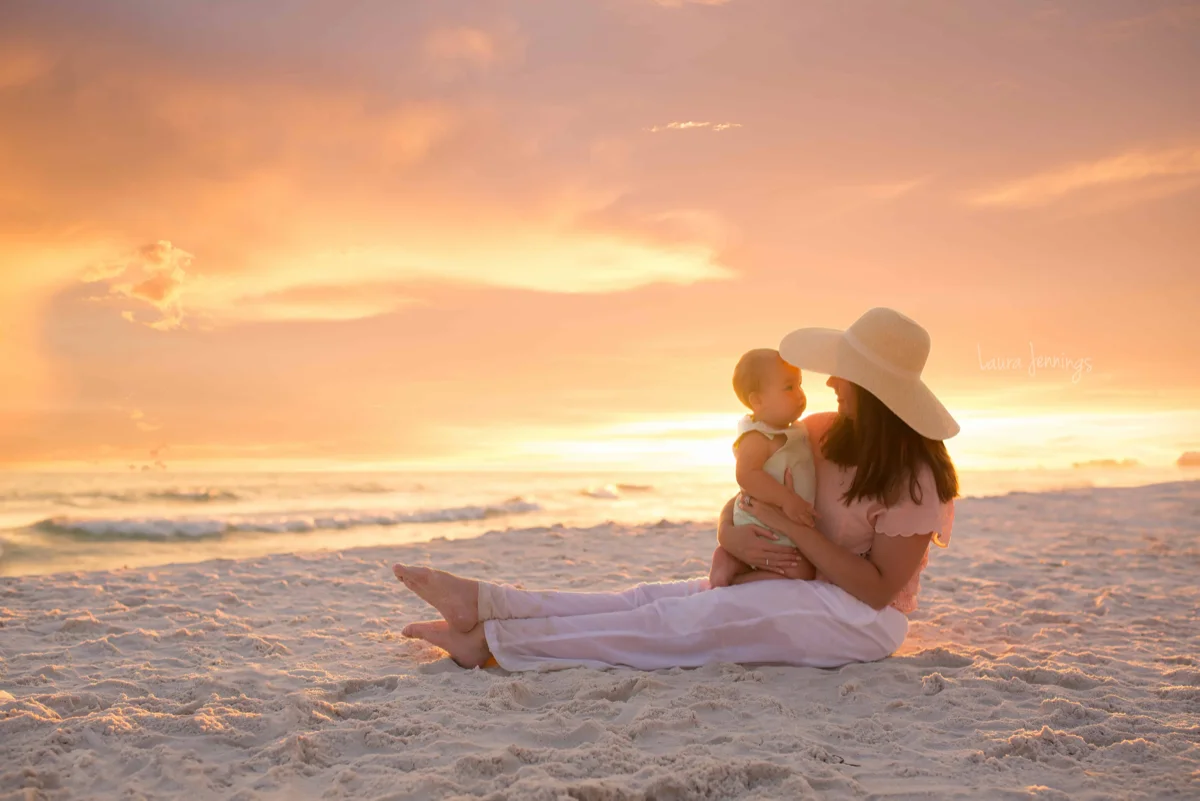
If you have any interest in photography whatsoever, I am betting that you have heard of the golden hour. If you are able to, hold off on shooting until about an hour before sunset (or if you’re a morning person, the first hour after the sun rises). This is referred to as the “golden hour”, and it’s truly magical!!! The light is warm and golden, it floods the air around you and creates this surreal feeling as you watch your tiny subjects dance around in the light, twirling and jumping. Ahhhh…. Seriously- if you haven’t ever shot during the golden hour, you MUST!
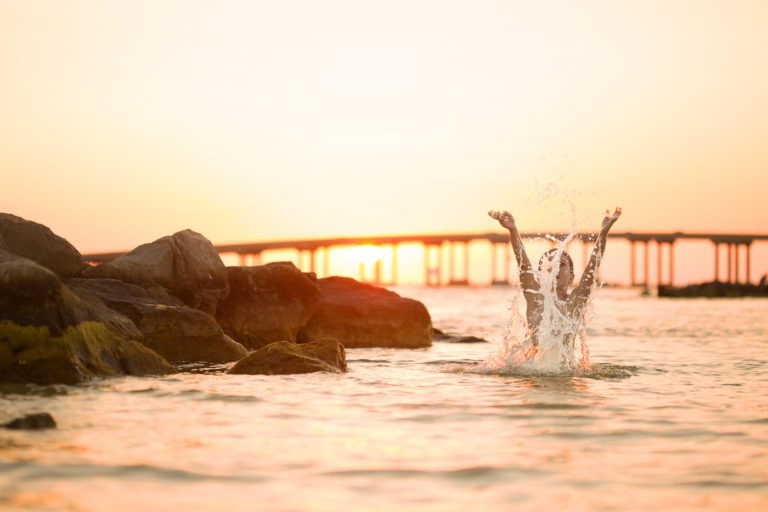
10. Most importantly- photograph what you love.
If you have to spend countless hours with your gear, practicing until perfection, you might as well enjoy it! Otherwise, your creativity will be drained, you won’t be producing your best work and why else are you doing this? “If you do what you love, you’ll never work a day in your life.” -Marc Anthony
xoxo,
Laura